Red-Eye Explained
Have you ever taken a picture (with the Flash) at night or in a very dark place, well then you might know what its like to get a photo of people with red eyes, and how frustrating it can be if that’s the only photograph you have of that particular time. So, I’m going to tell you a few things about Red-Eye and hopefully help you to prevent it :)
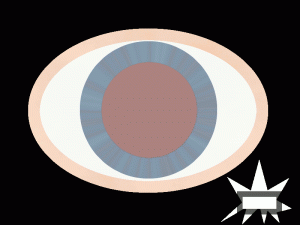
Red Eye from Flash
First of all the reason to why you can get Red-Eyes:
In the image below, there is an eye with a large pupil (the black centre), and this is where the light enters our eyes. Similar to the Aperture on in a camera lens, more light hits the sensor/film when the Aperture is larger (smaller f number), therefore the wider/larger the pupil is, means that more light is able to pass through to hit the Retina. The diameter of your pupils change as you experience different light intensities.
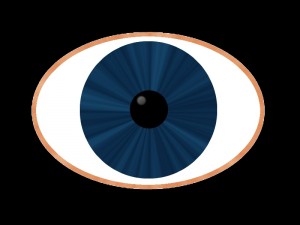
Eye in well lit places
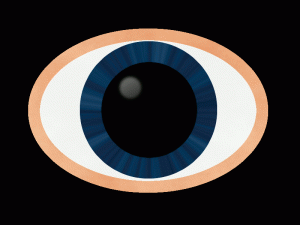
Eye in the dark (wide open)
So, if your in a dark place or out at night your pupils will be much larger to help draw in as much light and help you see better in the dark. This means that your ‘Retina’ is exposed more!
When a camera takes a photo at night it will usually fire the flash to light up the foreground and capture the scene with a fast shutter speed to avoid blurring. The rapid burst of light fired is a lot quicker than the time it takes for your pupils to readjust to the light and reduce in size. So, the light from the flash is reflected back by the Retina creating the Red-Eye look. It is red because the Retina has many blood vessels.
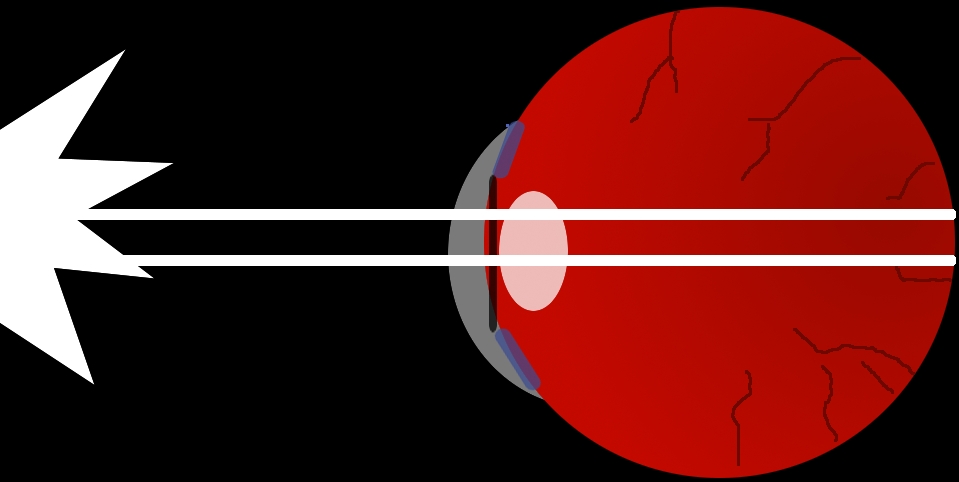
With Standard Auto Flash
Now, there is a very simple solution to this problem, either turn your flash off (please have a look at this: No Flash s Better), or put your camera in Red-Eye Mode or Slow Sync Mode.
These modes will make the flash go off twice: the first flash allows the eye to readjust to a smaller pupil, and then the second flash is used to light up the surroundings and produce a well exposed photograph, the camera begins the exposure on the second flash. As you can see in the diagram, a lot of the light from the flash is reflected away by the Iris.
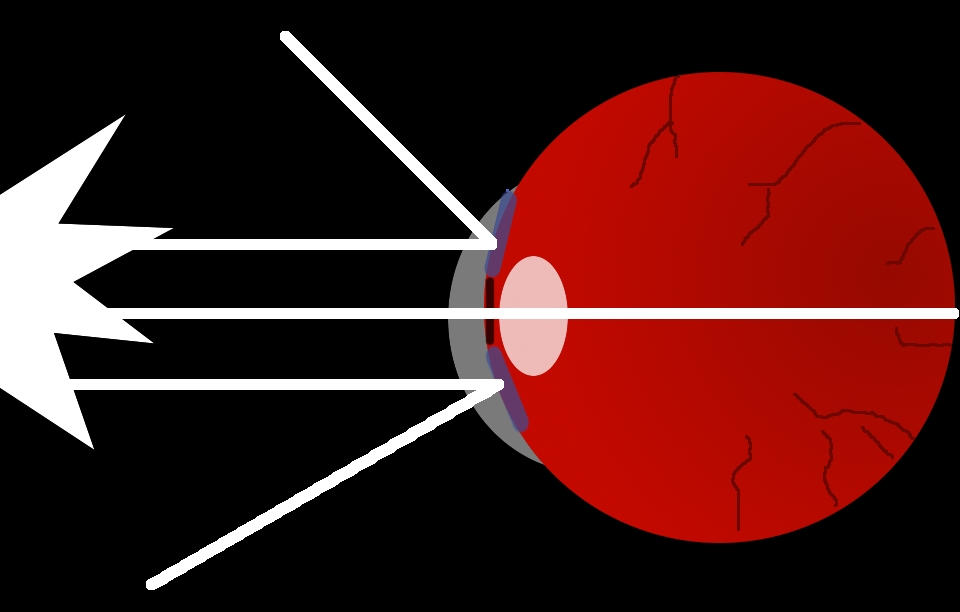
With Red-Rye Reduction/ Slow Sync
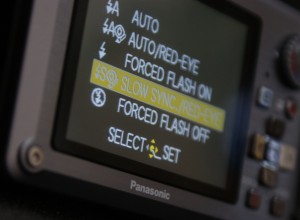
Slow Sync./Red Eye
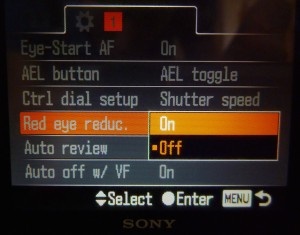
Red-Eye reduc. On
Please comment below if you have any questions and I’ll answer them ASAP!
All images on this site are copyrighted – All Rights Reserved.


